|
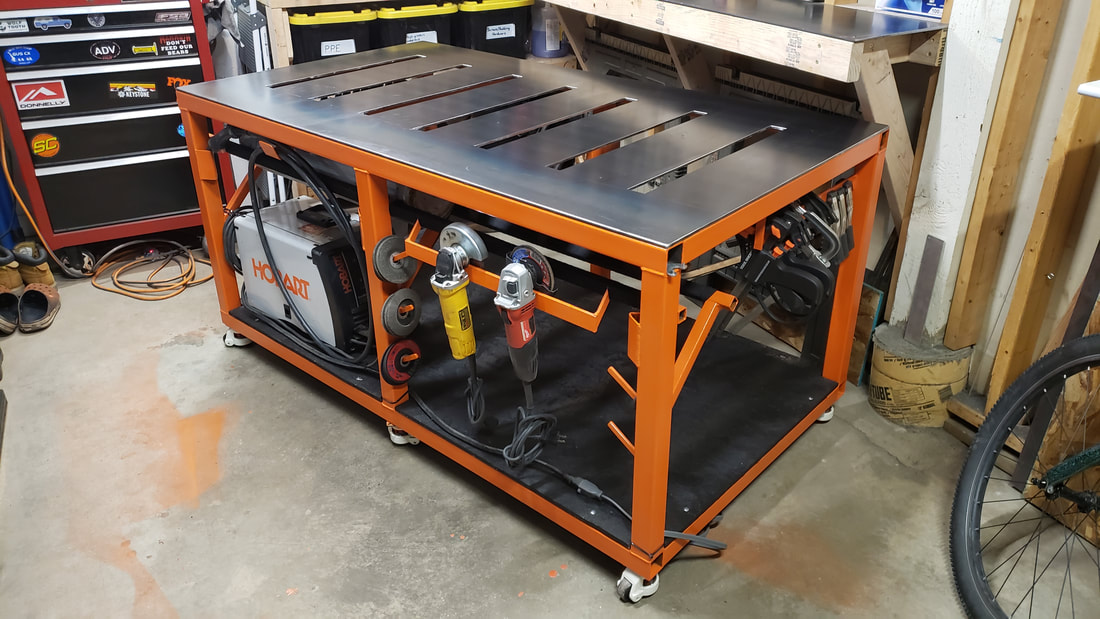
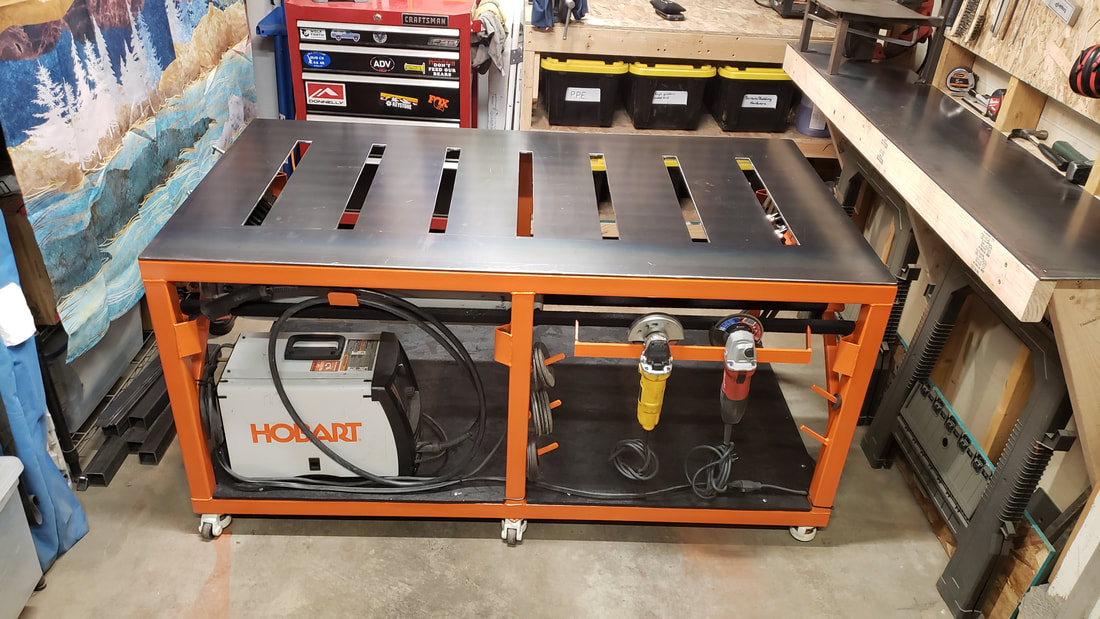
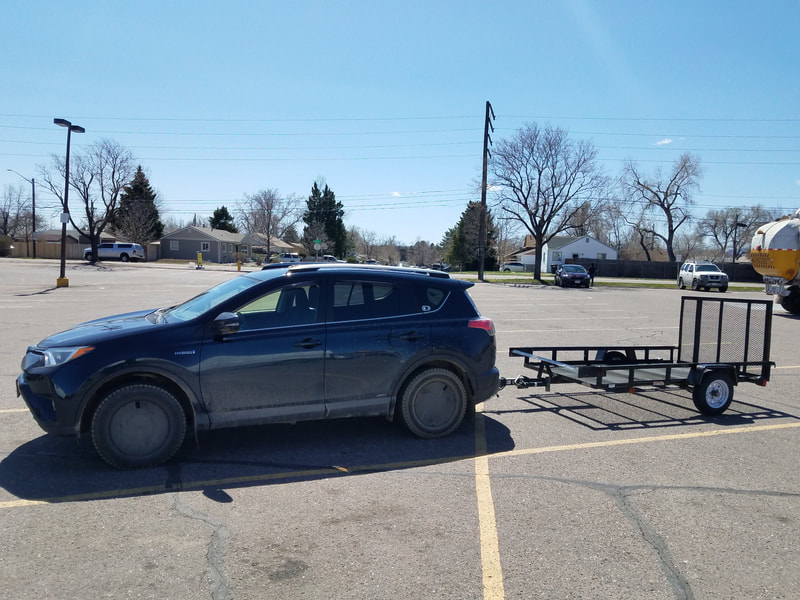
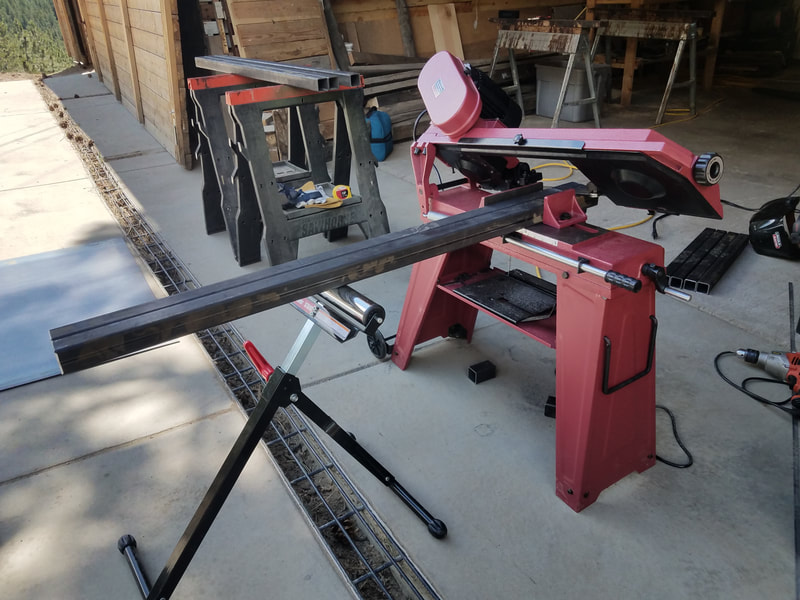
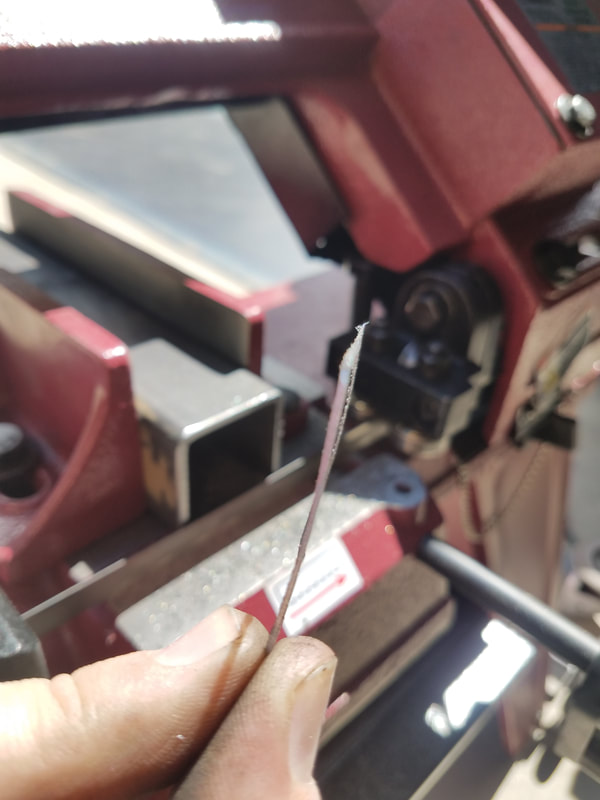
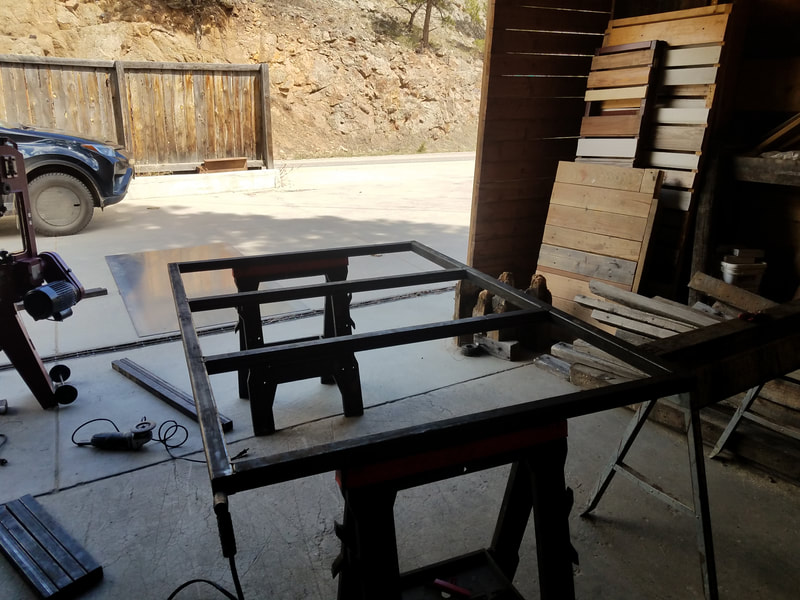
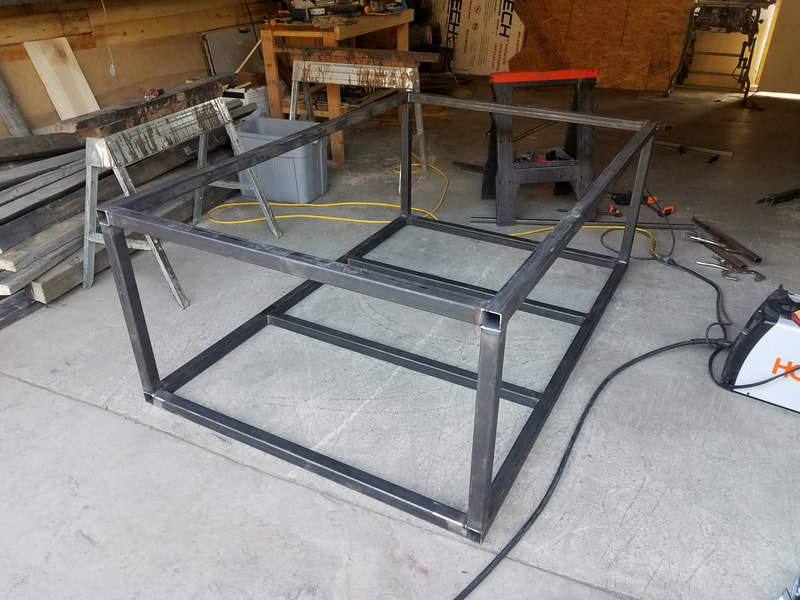
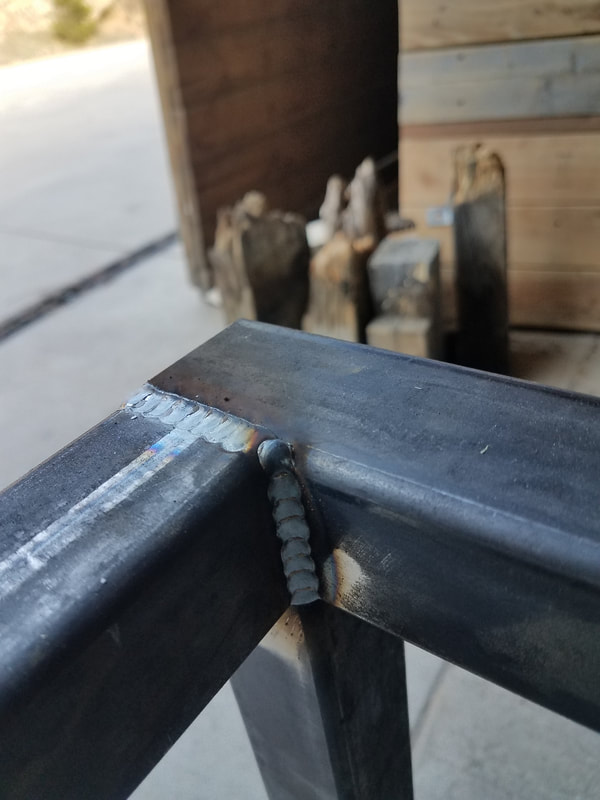
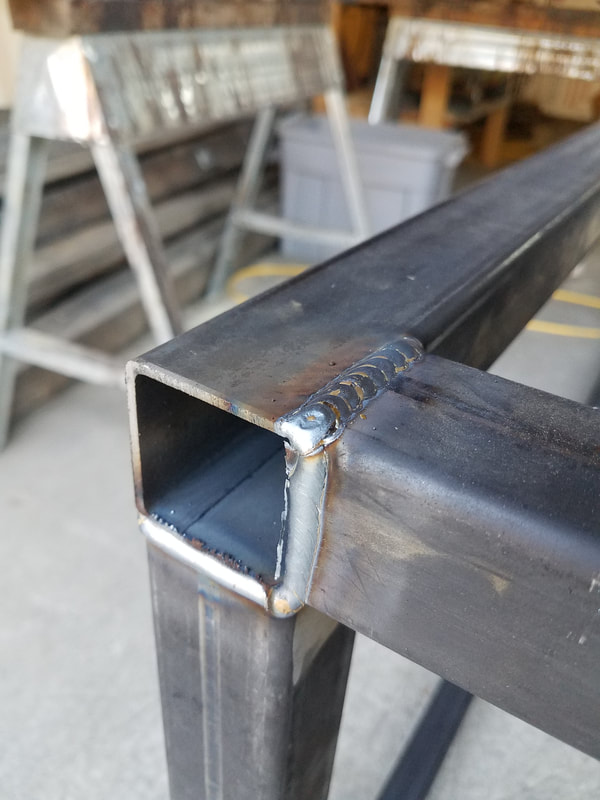
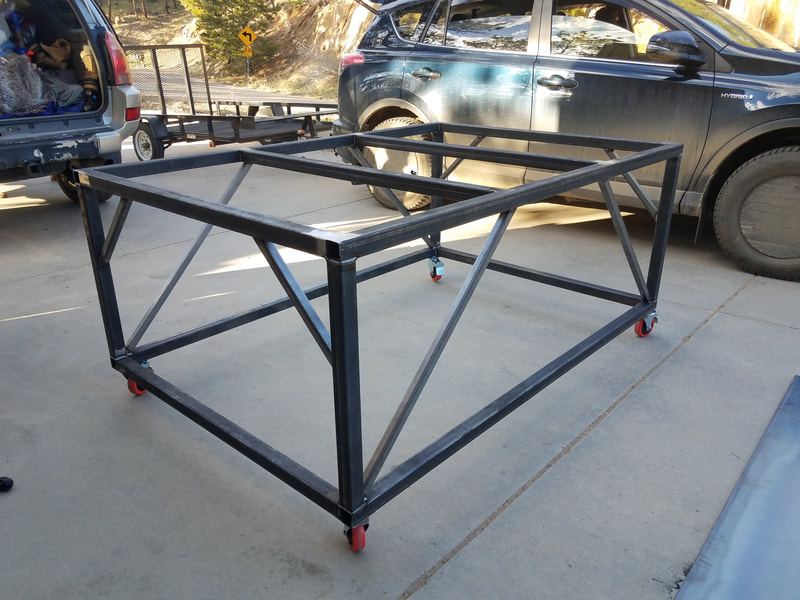
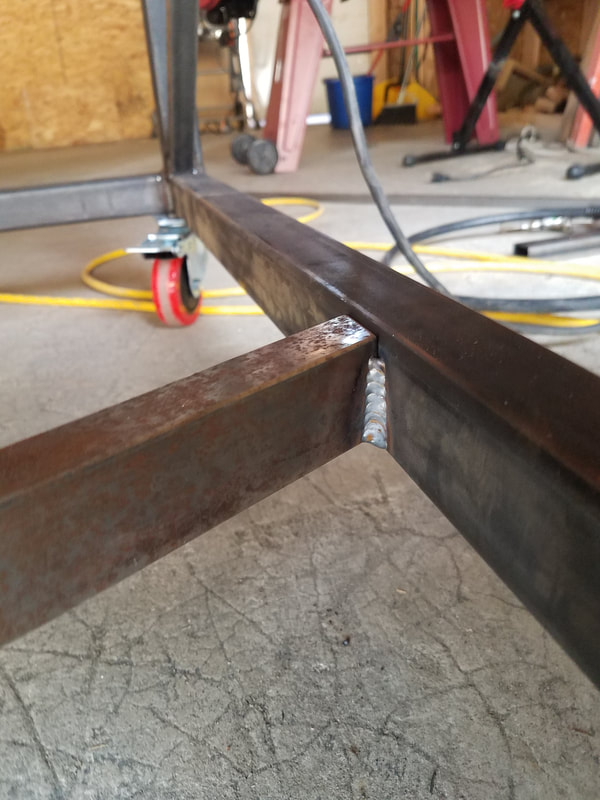
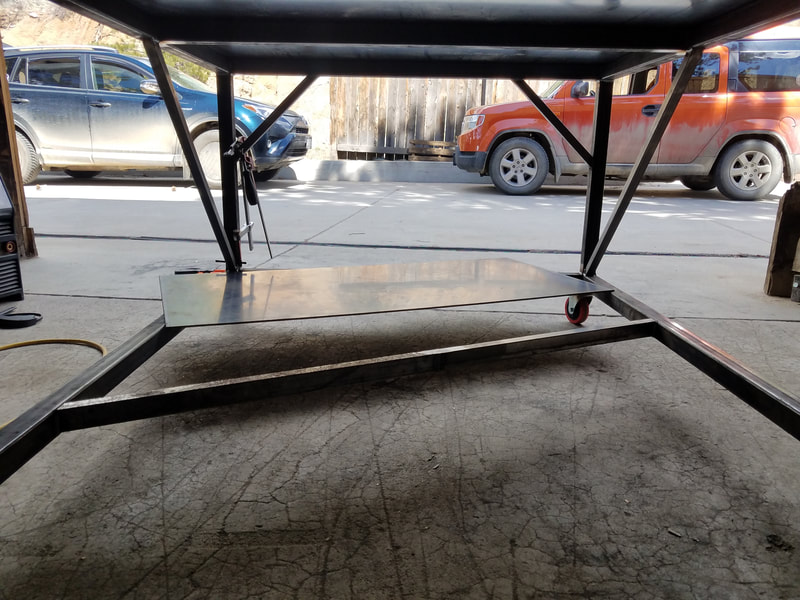
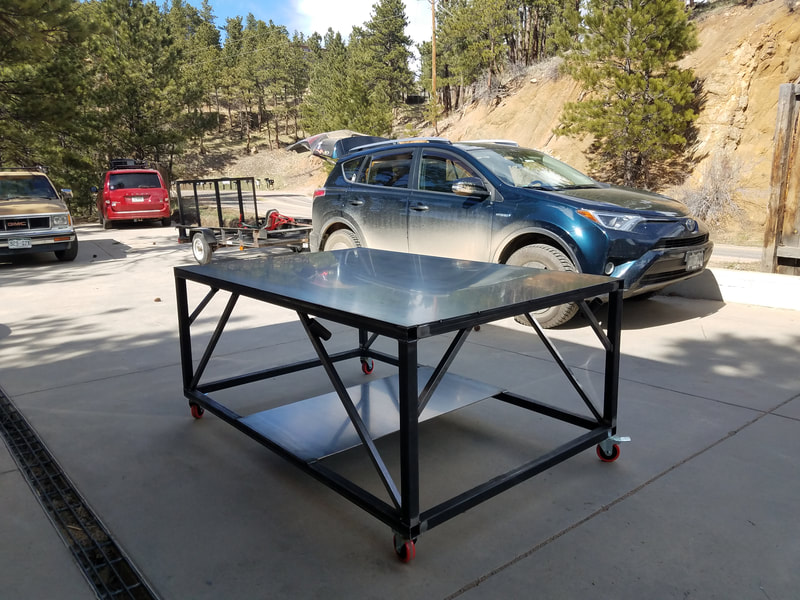
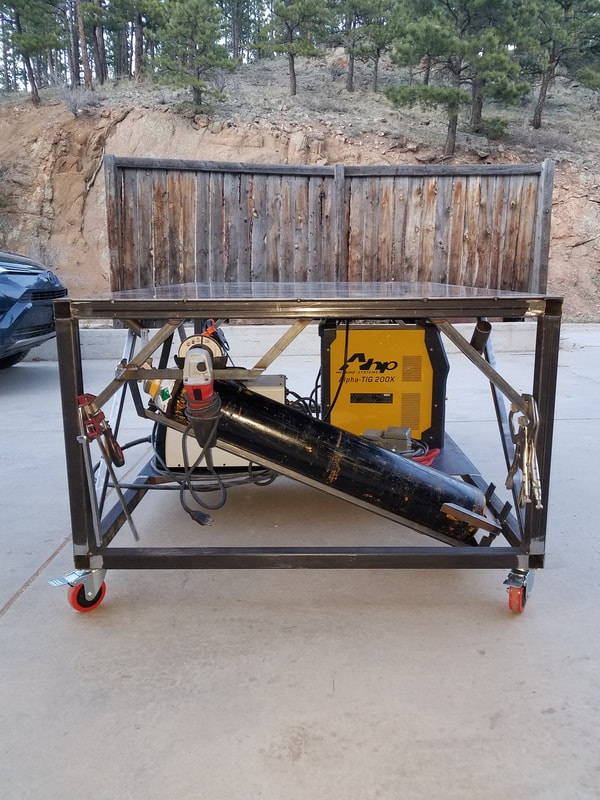
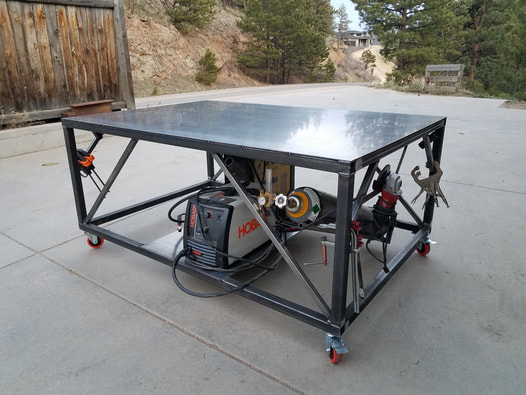
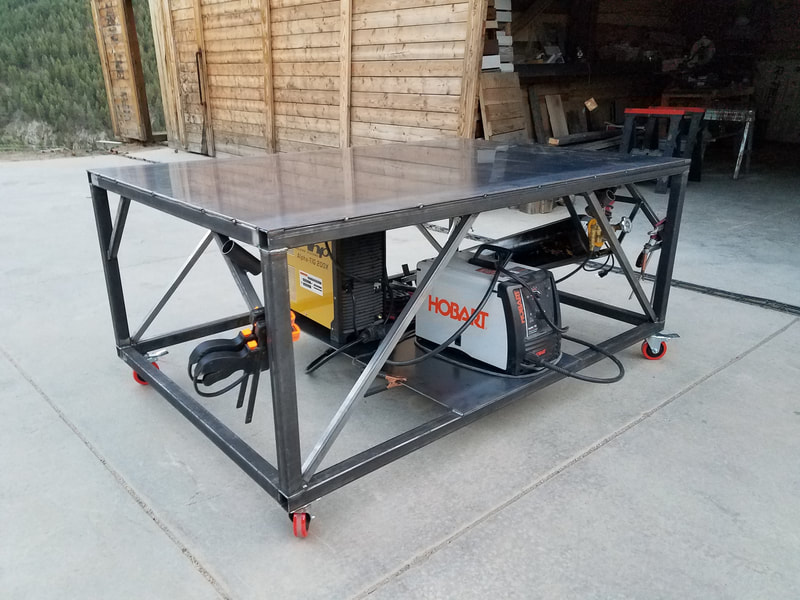
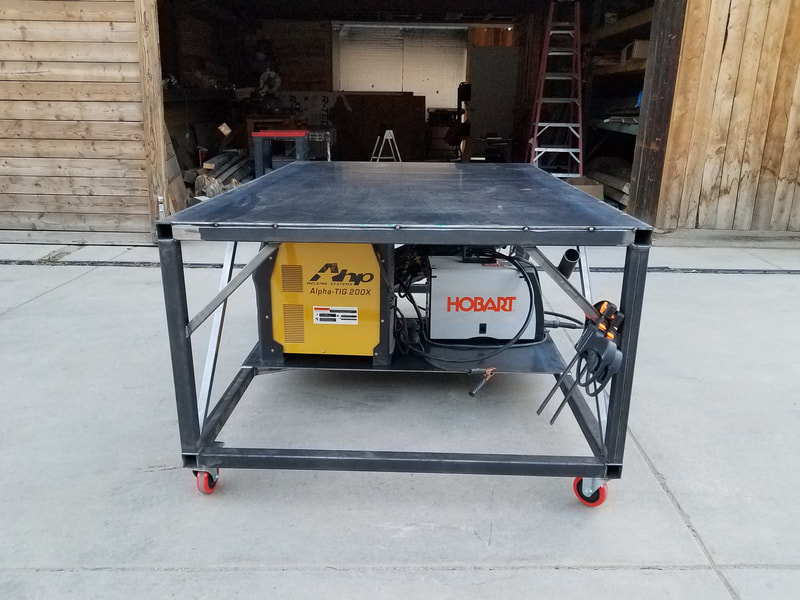
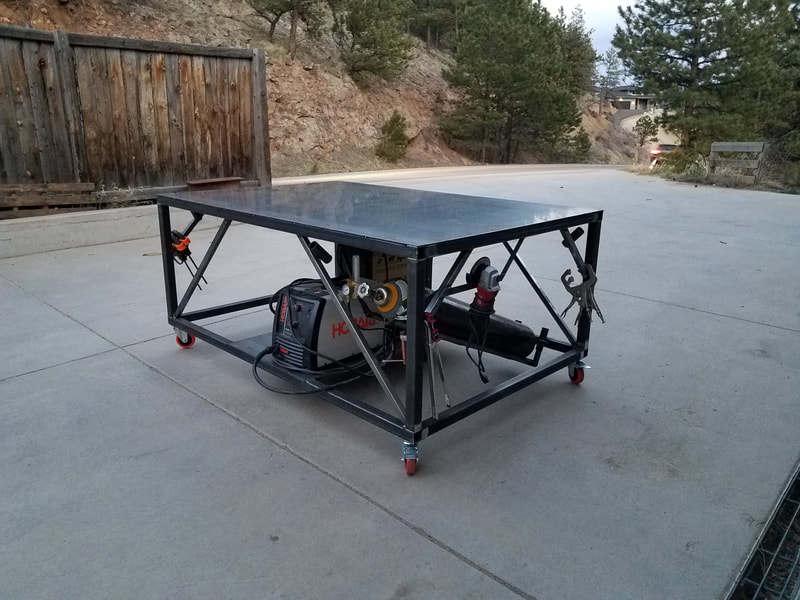
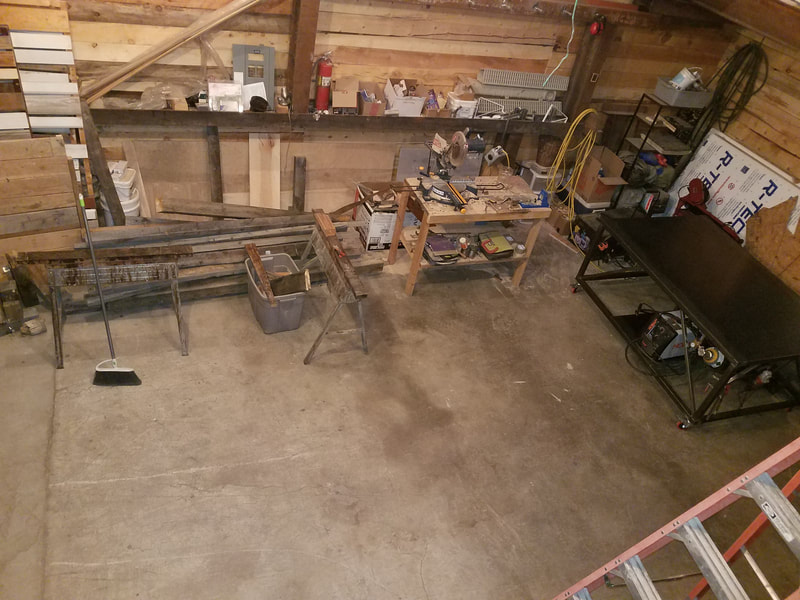
3/2/2024 0 Comments Fabrication table done!After getting my cargo trailer all fixed up, the first order of business was hauling about 500 lbs of steel home to use for this: the prerequisite tooling to help me build all my future projects, a welding table! I have built one for myself in the past, but had to part with it during the move to Boston. If you want to watch the entire process, scroll down! Now, I'm finalizing some design choices on the Trike Truck before I order the steel for it. More to come soon. Some quick details on the table: Top: 1/4" x 36" x 66" Hot-rolled steel, slots cut with an angle grinder. Frame: 14ga 2"x2" ERW steel tubing Shielding gas tank rails: 16ga 1"x1" ERW steel tubing Height: About 30" Bottom: Painted OSB Casters: 6 in total, all have extendable rubber feet in case I want a level, stationary table
0 Comments
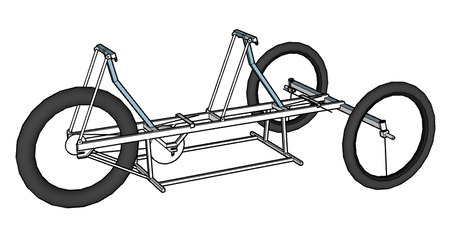
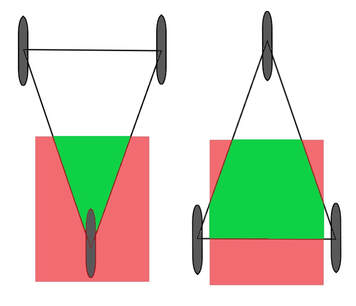
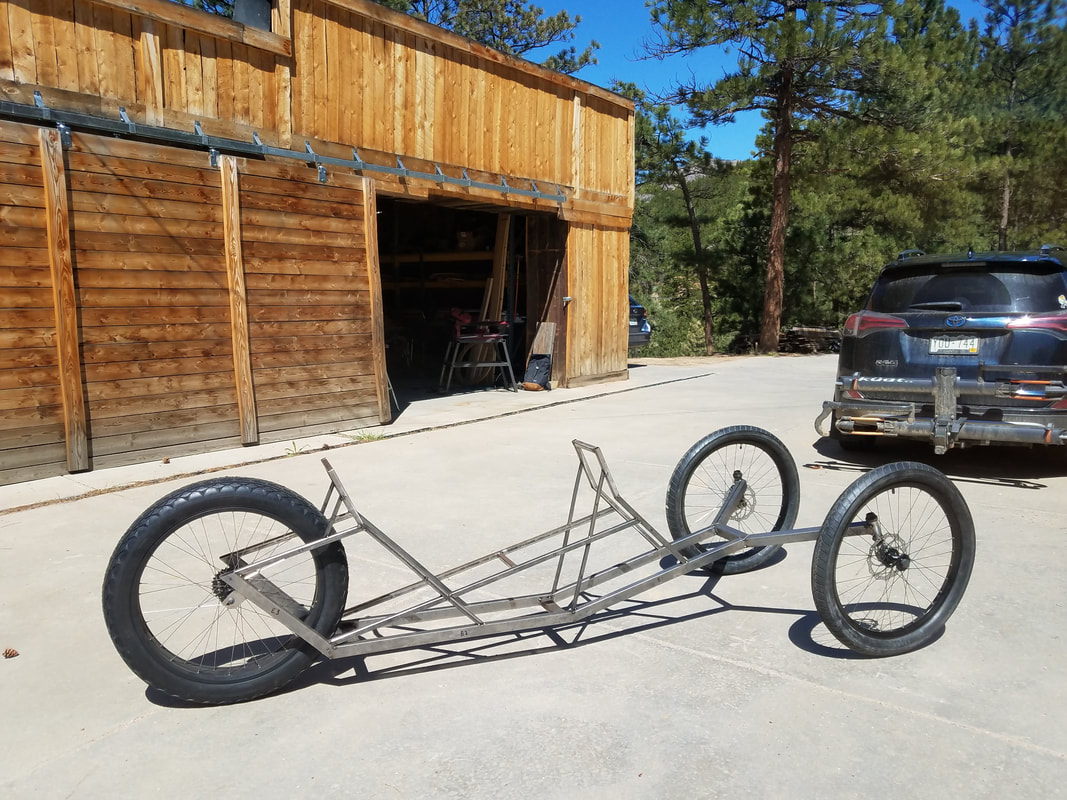
11/15/2023 0 Comments Adding a vehicle to the shop!I haven't posted in awhile, but I have not been idle. I found time near the end of summer to refurbish an old cargo trailer so that I can haul steel again (easily) using my RAV4. As soon as it was done, I drove to pick up steel to build myself a welding table again, after having sold the last one before our move to MA. Now that we're back in CO with a 1-car space, I've been working to optimize the space for both bike and fabrication work. This welding table will be smaller than my last one due to space constraints, but should still be large enough to fit the entire frame of the trike truck on it, since the new design is very, very compact. We've been traveling a fair bit lately, but I hope to have the table built before Christmas. Once the table is finished, progress on the new trike should happen fairly quickly! If you'd like to watch the restoration process, check out my YouTube video here: 3/23/2023 2 Comments A Major Re-visionIn my last post, I cited the problems associated with the Raven - the long, wide, tandem-seating electrified trike. Among the problems were weight, convoluted & unreliable chain routing, overly complicated steering, kingpin flex issues from side loads and traction problems on inclines with no passenger. The design I had in mind to address these issues is indeed simpler. It uses a straight crossmember up front, more upright seating and simple chain routing, and it would certainly be much lighter. However, one issue that it did not address was usability. With a width of nearly 4 feet (1.22 meters), the sheer size of that proposed redesign and the resulting fairing/overall vehicle would have relegated it and the trike before it to the streets only. I would not have felt responsible bringing such a vehicle onto bike paths, and I did not want to create something that I could only use on roads shared with cars. I came across a short article by "The Left-Handed Cyclist" on their blog that highlighted a couple of the challenges facing vehicles such as the one I'm designing. That article can be read here. In it, they go through a few examples of vehicles past that were based on electrified tricycles, with fairings, that were designed to bridge the gap between bicycles and cars. One such issue is trying to use a low-speed (at or below 30 mph (48 kph) crusing speed on a roadway shared with cars. This speed (with a large enough vehicle, such as an ELF or PEBL velomobile, or the one I was designing) can lead to traffic backups as motorists are forced to pass in a passing lane. While this may not seem like an issue on paper, I know from experience that driving a vehicle slowly enough for motorists around you to need to pass constantly is a stressful experience for the one operating the slow-moving vehicle. People are often angry and passing aggressively, and therefore dangerously, when they feel their movement is being impeded. This is a very unpleasant experience, and not one I want to have whenever I am running errands around town, so I've decided that it is critically important for this vehicle to easily fit on bike paths (and bike lanes) responsibly. So, what does this mean for the trike? It means that things need to get smaller. Much smaller. So, my focus lately has been on packaging. How can I create something that's easy and appropriate to use by myself, but can still carry plenty of cargo or a passenger if the need arises? I basically want to create a bakfiets (box bike) - but it needs to be able to have a fairing mount to it so that the operator (not just the cargo/passenger(s) like the Urban Arrow and other cargo bikes) can be protected from the elements. The more I've thought about this problem, the more I begin to look to delta tricycles. Delta tricycles offer a few unique advantages. One of those is having a large open space for cargo between the rear wheels. This is a fantastic place to put a lot of weight, because the more weight you have there, the better your stability gets. To illustrate this point, see the figure below. All things being the same - wheelbase, track width and cargo area - you can see that the area within the tire contact patch triangle is far greater with the delta design. With a tadpole trike, cargo areas are beside, in front of and above the rear wheel. This is a very awkward way to carry cargo, as most weight placed around the rear wheel (other than that placed in front of it) serves to fight the inherent stability of tadpole layouts.
Complex Design
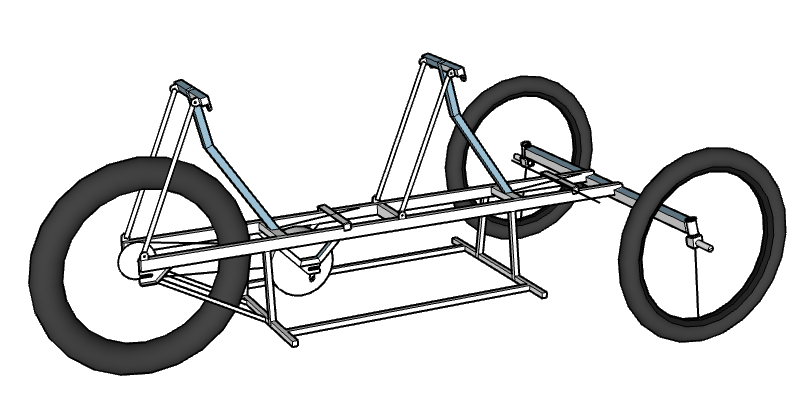
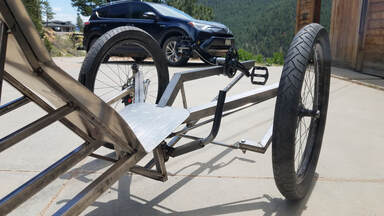
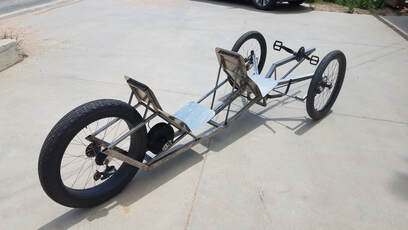
Arguably, one of the most frustrating things to deal with for any end-user of a product is over-complicated, unintuitive design. Standard bicycles are one of the simplest machines humanity has created, yet I would argue that the utility of bicycles cannot be overstated. Anybody with a little mechanical aptitude (and perhaps some YouTube search prowess) can fix just about anything on a normal bicycle. As soon as one starts to introduce steering linkages, suspension, differentials and jackshafts into a bicycle design, the vehicle starts to become more of, well... a vehicle. I want to make sure that this trike is not only easy to build, but easy and inexpensive to maintain, work on and live with. To that end, I believe I've found the simplest, most streamlined way to create a cargo trike in a small package that's simple in design and does not require any crazy transmission or steering linkages, is intended for use on bicycle paths, can fit through a normal doorway, sits low to the ground for stability and has a wheelbase that's nearly 2-feet shorter than your typical box bike, while being able to carry the same cargo. As you can probably guess, it's a delta design, but the drivetrain is simpler than you may expect. I'm very excited to share progress pictures once this build is underway! Since I last posted, I have gotten the seatbacks mounted, chains routed and brakes hooked up, and I have taken the Raven for a few test rides on pavement and dirt roads. The test rides have taught me four things.
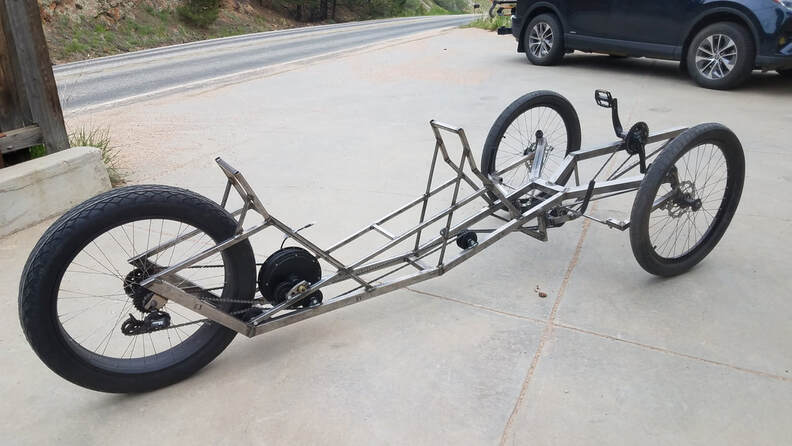
Much of this weight and complication in the steering, chain and cable routing is due to my desire for the seats to be low to the ground. The low center of gravity does make the trike feel planted, even with a narrow-ish track (38"), but the complication it has caused is too much of a compromise for a real-world, everyday application. So, I have redesigned the main frame. The design is much, much simpler. It uses two main tubes, a straight crossmember, simple underseat (or overseat) steering design with two tie rods instead of three, utilizes aluminum seatback support tubes, single upright seat supports and now all power is routed to the rear wheel through the mid drive, which reduces the number of chains required, eliminates the need for a special tandem shift cable and should also allow chain routing to only require one power-side idler as opposed to 4. Also, the wheelbase has been reduced by over 2 FEET (609mm), which will greatly improve the turning radius.
The compromise here is that the seats are about 6" higher off the ground than the previous design. To counteract this higher center of gravity, I will likely increase the track width by as little as 5" and possibly as much as 10", for an overall width around 48". The seats are also 10° steeper, putting them at 55° rather than 45°. This puts the occupants in a position more similar to driving than before. I am also going to have the bottom bracket a bit lower to the ground so that visibility and chain line are optimized when it comes time to build the shell. If it's not already clear to my readers, all of these changes basically mean starting over. The seats and tie rods will be re-used, but the rest will be cut apart and the usable pieces will be saved to be used as scrap parts for the next build and future projects. This is, unfortunately, one of the realities of prototyping experimental vehicles. This is not the end, but unfortunately it is enough of a setback that the project needs to be put on hold. Partially because of financial reasons, but also because by September 1st, my Fiancé and I will have moved to Boston for her postdoc position she was offered at MIT. Should we find suitable arrangements including a garage for me to work from, this build will resume part-time with the new, simpler redesign around then. Until then, I need to begin working again, packing up my tools and parts, and preparing to move our lives a 29-hour drive away. If you know of any bicycle shops in Cambridge looking for an experienced mechanic to wrench in and/or manage a service department, I would greatly appreciate the introduction! Until then, I will post any updates here that I think you all will find entertaining, and I'll get back to work on this project as soon as I can. - Chase
5/10/2021 0 Comments Rolling Raven!Last Thursday, I finally got the frame rolling! In the process, I tweaked my plans just a bit in order to simplify the build process and to help ensure others could follow along easily and reliably. So far, the build has gone very smoothly and I've eliminated steps I've had to do in previous builds that I found to be overcomplicated or required too much "guesstimation." I am very happy with the outcome thus far. This week's main goal is to design and fabricate the steering system. My intention is to have a nice, intuitive lever steering system that allows the rider's arms to rest at their sides and results in a very smooth, stable steering experience. My secondary goal is to create the front and rear seats. One of the design considerations for the seats includes the ability to quickly remove them in order to access the enclosed drivetrain. I have some ideas for this and I'm excited to flesh them out!
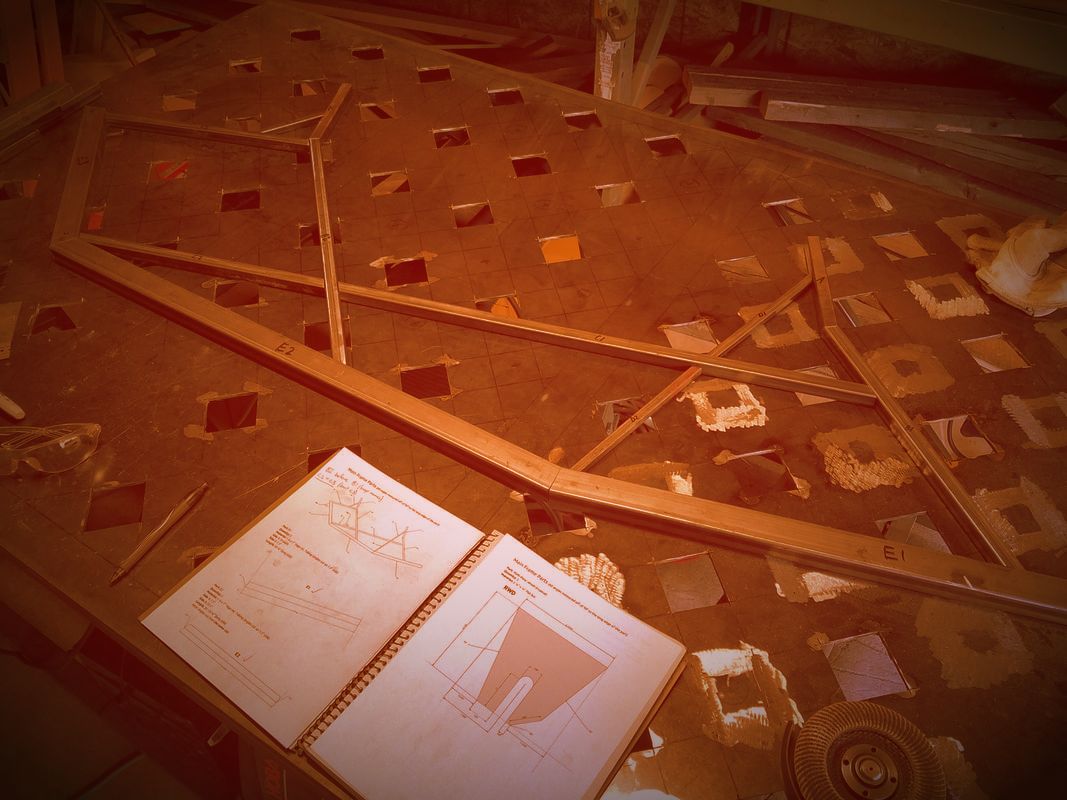
Thanks for tuning in. Much more to come very soon! 4/29/2021 1 Comment Construction Begins!Working from my rough draft of my plans, I've started cutting tubes and laying out the build! I have everything cut for the main frame. Next time in the shop, I'll tack up both sides of the frame, link them together and possibly start on the kingpins!
I'm very pleased to say that the plans made the build thus far a total breeze! I recorded a lot of video today as well. Some of it will be used for my YouTube channel, and some of it may go towards making more detailed videos for Patreon. Stay tuned as I believe this will come together quickly! Would you have any interest in building a machine like this from plans? How about a single-seat version of it? Let me know in the comments! 4/27/2021 0 Comments Mid Drive!When I first ordered parts for this build, I ordered a 1200-watt rear wheel hub motor kit for simplicity. I chose direct-drive over geared because I wanted to be able to one day add regenerative braking, as well as a reverse function.
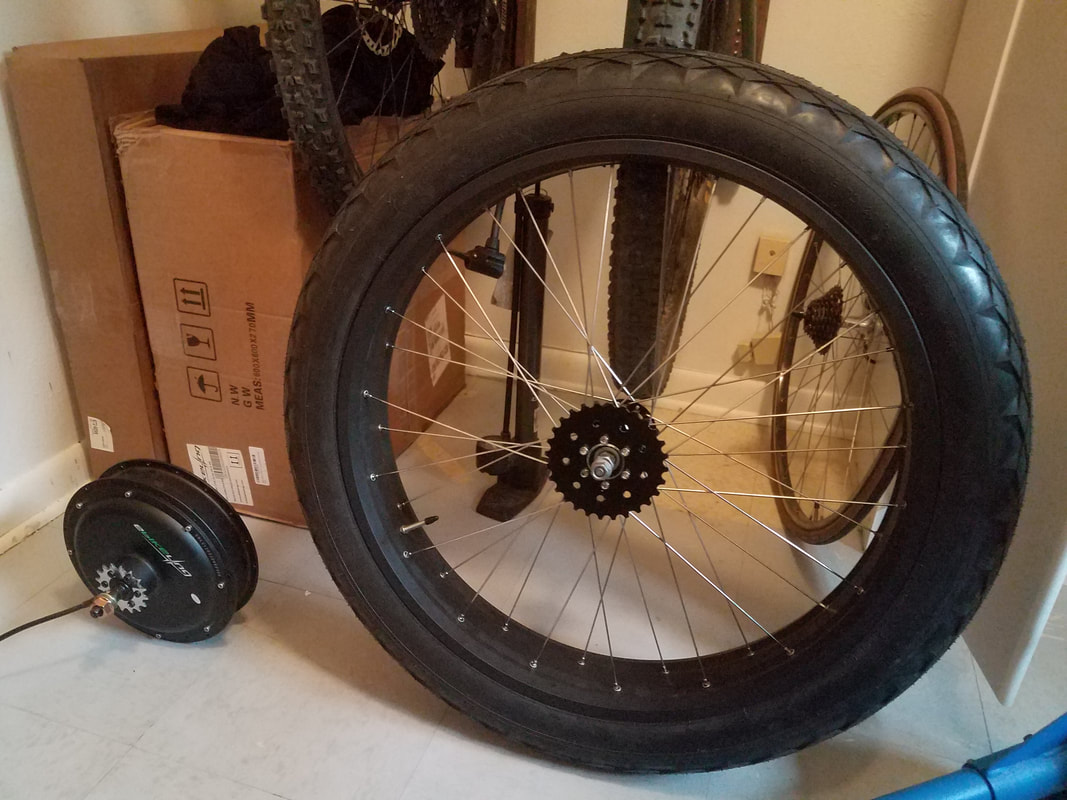
Since I received my kit, I've been reading up on the forum Endless-Sphere. The conclusion I've come to is that my direct drive motor may get bogged down with the weight of two people plus the chassis. Some people would get around this problem by swapping the direct drive motor out for a geared one, but that would mean sacrificing the ability to have regenerative braking and reverse function in the future, so I opted to make my 1200-watt direct-drive hub motor into a mid drive, connected to the rear wheel at a fixed gear ratio of about 0.57:1 (16t at the motor to 28t at the wheel). To achieve this I'm using cogs on both the motor and the wheel that bolt onto the disc brake mounts. This means that in the future I can still have regenerative braking, and also drive the rear wheel in reverse! On top of that, the other benefit of a direct-drive motor is superior reliability as there is only one moving part! In future full-suspension models (eventually), this same setup will allow for superior rear suspension performance by massively reducing the amount of unsprung weight! So, today I de-laced the hub motor and then built up the fat tire rear rim onto a standard disc brake hub. Now I can get into the meat of this project - the build of the main frame! I have some modification to do to my welding table tomorrow to allow me to clamp down anywhere on the table, but once that's done I will be getting started on all the cuts and tacking together the two main portions of the frame. I promise I will post lots of photos! Until then, enjoy this taste of the future "hub motor as mid drive" setup! 4/22/2021 2 Comments Back at it Ever since Trike Trek '11, I have been attempting to find fulfillment through my work by working in bike shops and in welding/fabrication-oriented companies. While these jobs have been fantastic for building my skillset and expanding my knowledge base, nothing excites me quite the way that hatching an idea and bringing it to life does. Something I've learned about myself recently is that I need a creative outlet in order to feel fulfilled. I want to have a lasting impact on both the cycling community and transportation sector by introducing vehicles that inspire others and get people excited about the future. With the experience I've gained over the years, I am now in a position to get that ball rolling!
Once the build commences, I will be releasing videos to YouTube to showcase my progress. I'm also considering making more detailed and specific instructional videos that I would release to Patreon only, that would go hand-in-hand with the plans I release. The aim here would be to actually act as a mentor to any prospective builders who desire extra instruction. I personally found it invaluable to have a knowledgeable mentor when I started working at Main Street Pedicabs. He helped me improve my welding technique and showed me some tips and tricks that would have taken me years to discover on my own. I wish to provide that same kind of value to my customers and also create a community of like-minded individuals in the process so that we can all share ideas and learn from each other.
Anyways, if you have, thank you for taking the time to read my brain dump. I am SO very excited to FINALLY serve all of you who have been contacting me over the years asking for various things. I truly hope to get to all of them! This set of plans will mark the first of many plan sets to be released. Here's my quick list of vehicles I'm interested in making after this one: - Personal touring velomobile. - Modified single-seat version of the Raven - Racing velomobile (body hugging, low slung skinny tire rocket) - Off road/cargo quad E-velomobile (pickup-truck-esque) - Longtail cargo bike - Cafe racer-style E-bike - Personal delta velomobile (drift velomobile...?) - Ultralight tube-frame chassis 2-seat electric car w/ coreflute body (one day) On top of these plans, I'd also love to write a short paperback book on the basics of working with materials like corrugated plastic, aluminum & polycarbonate to add a fairing to almost any vehicle. Additionally, should the interest and revenue generated from these things prove enough to sustain me, I would consider selling frame kits, fairing kits or even full vehicles. More to come soon. Stay tuned! 4/17/2020 0 Comments Setting up Shop
Overall I'm pretty happy with the table. I'm sure I'll add some features like a power strip and some more mounts for the MIG torch, maybe another welding tank rail system and more, but for now it will allow me to make some very nice trike frames without having to sacrifice accuracy by fumbling with them on the ground like I did in my last welding space.
Anyways, if you've read this, thank you for your interest and support in my work. I'll post updates here and on facebook as they're available! As projects get rolling, I hope to post videos as well. Stay tuned, stay healthy. - Chase |
Archives
March 2024
Categories |
Search by typing & pressing enter

